

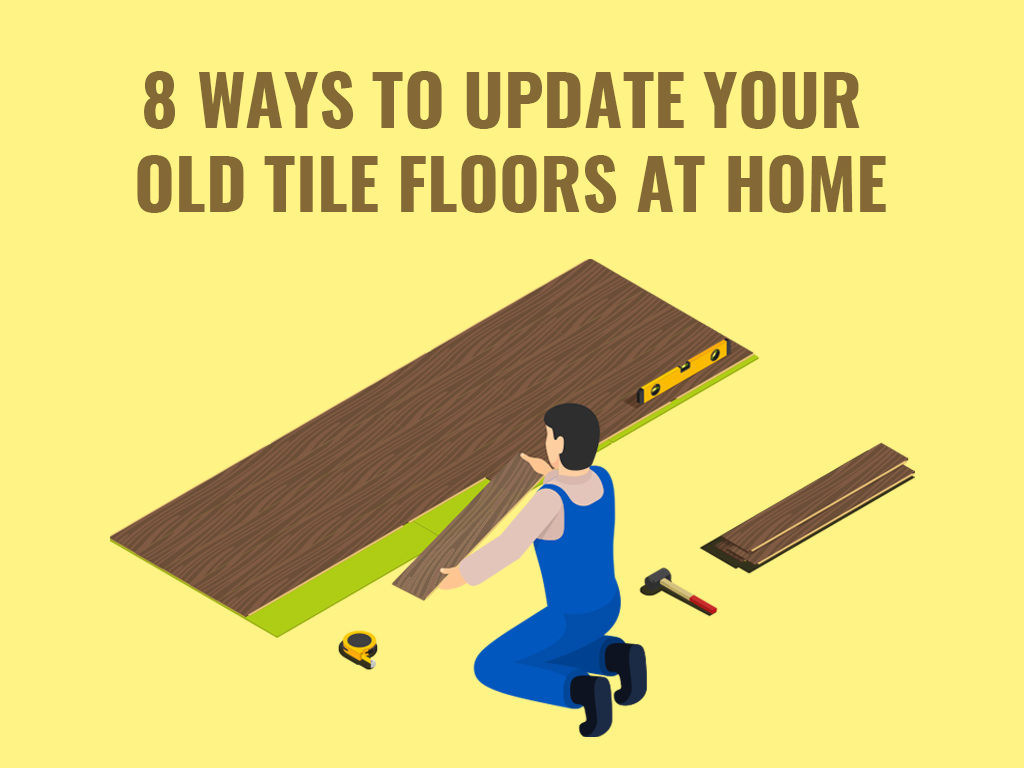
For any building, floors take most of the wear and tear. Polyurethane Flooring can be applied to both industrial and commercial buildings. If you leave your cement floors untreated, it could easily be more susceptible to damage.
Similarly, if you find that your tiles at home are beginning to look worn, maybe it’s time to replace them. Your floor tiles are also sensitive to impact and can severely affect the way your room looks. If you’re interested in some methods to update your tiles at home, then keep on reading!
Table of Contents
Consider Using Polyurethane

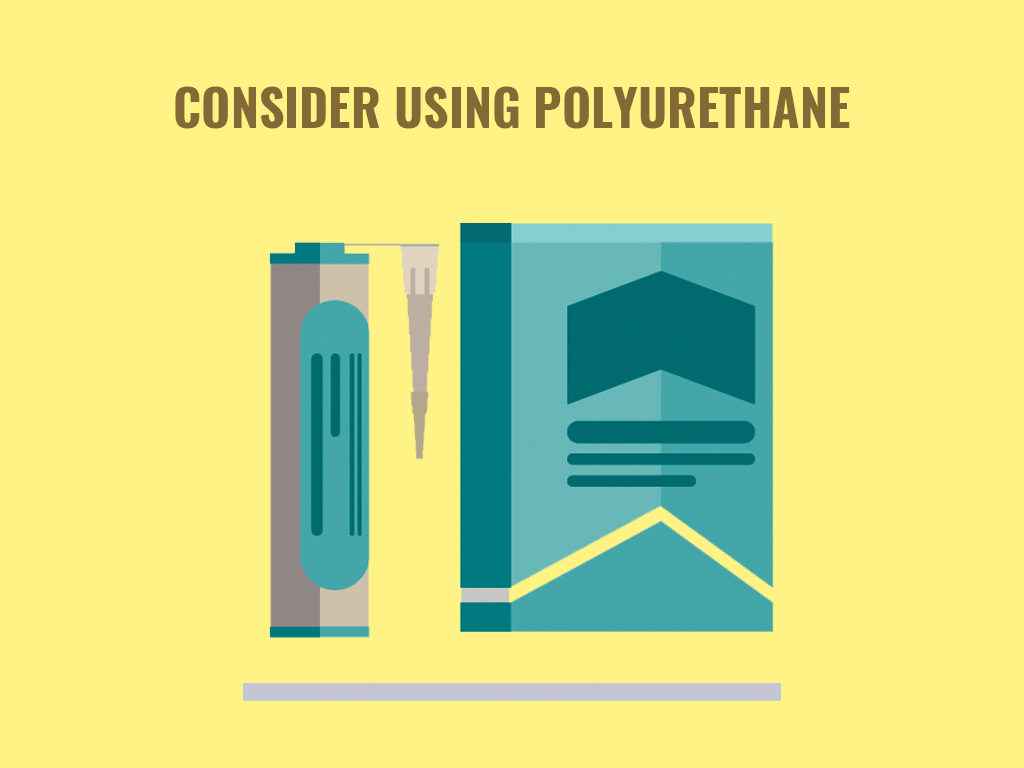
Consider using polyurethane flooring instead of tiles for your garage. Polyurethane is a thermosetting polymer that’s also considered a high-performance coating. Compared to the epoxy floor coating, polyurethane is much more flexible. This flexibility aids in absorbing impact, which can make the floor of your garage last longer.
Polyurethane is also UV stable. Unlike epoxy, it won’t have a significant yellow discoloration upon exposure to the sun. Don’t be fooled by the hardness of polyurethane coating. Polyurethane is very scratch resistant. It can also handle different temperature fluctuations and humidity.
Initial Preparations
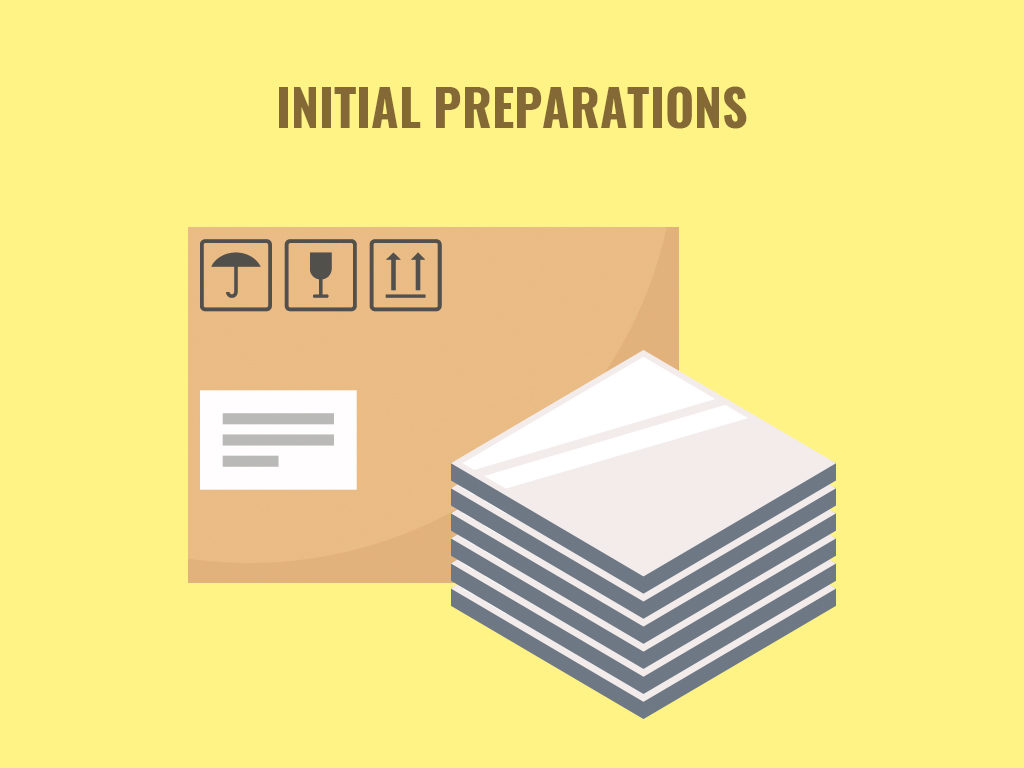
Start with the initial preparations before changing your tiles. Before you begin working on your new project, make sure that you already chose a new tile for your floor. Make sure that you’ve purchased enough tiles to fill up the room you’re updating. Also, inspect the integrity of your new tiles.
Check for any cracks, discoloration, and other unsightly debris. If you chance upon this, change the tiles accordingly. Large tiles take the least amount of time to install. Small tiles can be installed easily too, just check for mesh backing solutions.
Getting Started

Start by removing the base trim. Move most of the furniture and other objects out of your way. Wear a respirator to protect your lungs from the dust. Add a mask to protect the door from dust and open your windows. Deploy a fan in order to blow the dust away towards the outside. Goggles are also recommended so that dust doesn’t touch your eyes.
Prepare your hammer and chisel. Choose an area you’ll break up and begin there. Once the tile is broken off, the whole process will be easier. You can also begin by breaking the grout lines. Once you remove the tiles, use a floor scraper to remove old thin sets. Determine your subfloor type before moving on.
Subflooring
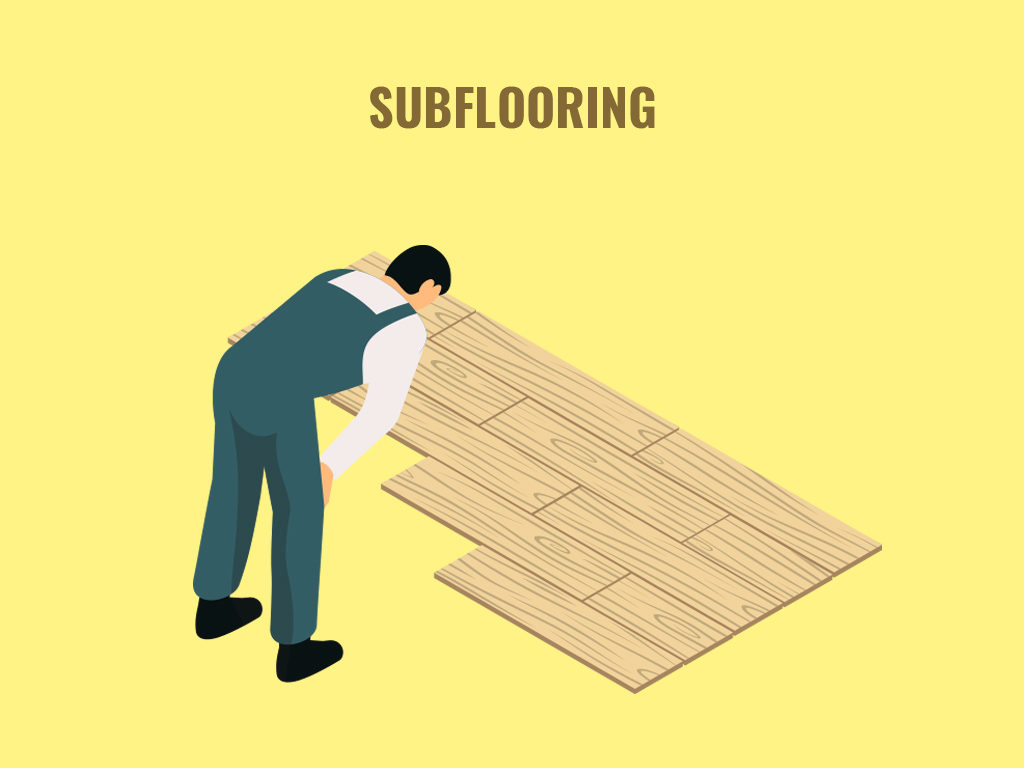
If you need to make any repairs for your subfloor, do it now. The subfloor must be in the best condition so that your tile installation will be smooth and uniform. Concrete floors that have cracks need to be patched up. Make sure to layer it properly and sand it. This ensures smooth seamlessness. Woof subfloors that are damaged should be changed at this point as well. Floors with low spots can benefit from using a self-leveler.
Tile Membrane
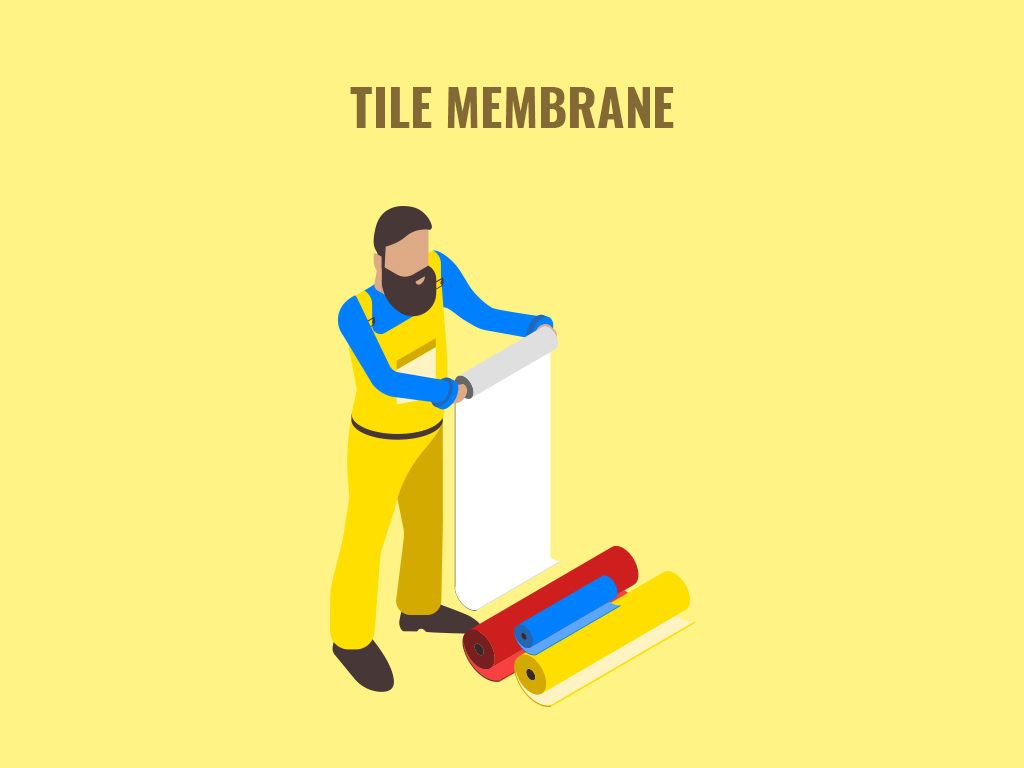
The tile membrane gives your floor a strong foundation underneath the tile. Start by rolling the tile membrane across the floor and cut it at the wall. Mark the edges of each membrane so that you know where to spread the thinset. Check the fit of the tile under doorjambs and doors. Place one tile on top of the tile membrane and hold it against the door trim. If needed, cut the trim 1/16 of an inch above the door stack.
Mixing
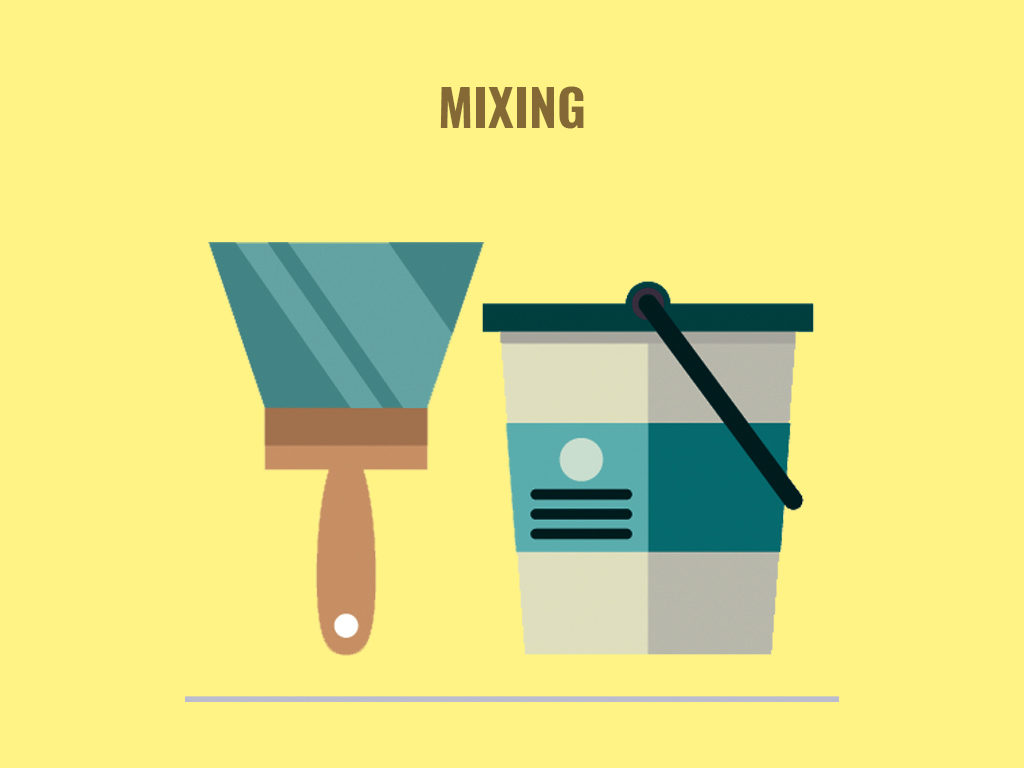
Mix your thin-set mortar. Follow the instructions accordingly. The mixture should be thin but not thin enough that the ridges will collapse on the floor. For easier mixing, use a bucket and a drill with a spiral mixer. Concrete subfloors use unmodified mortar while plywood subfloors need modified mortar.
Application

Use the flat side of the trowel to apply the mortar to the subfloor. Use the notched side of the trowel to comb over the applied mortar. It’s best to avoid making swirls. Only use a uniform direction for maximum smoothness. With the fleece side down, roll the membrane over the floor and press it into the mortar so that it sticks on the membrane. Continue laying the membrane, making sure each component is tightly applied together. You can also waterproof the floor by sealing the seams and wall junctions with a waterproof tile membrane. Spread mortar over the seams.
Finalizing

Loosely lay the tiles over the mortar and leave a ¼ inch gap in between each tile. Apply a thin set mortar before finally attaching the tiles. Use the notched side of the trowel to spread the thin-set mortar. Allow the tiles to settle all in place. Wait at least a day before proceeding to add the tile grout. Mix the grout and with a grout float, fill in the spaces between the tiles. Remove any excess grout to avoid grout haze. Let it sit for another day to dry before stepping on your new tiles. You can also add grout sealer to protect the grout.
Key Takeaway
If you’re using polyurethane flooring or new tiles, you can completely update and transform your home. Impact and wear can age your flooring, keep it fresh and updated by changing your tiles every 3 years. Your floors will last longer and your house will look newer because of this.


Alex is fascinated with “understanding” people. It’s actually what drives everything he does. He believes in a thoughtful exploration of how you shape your thoughts, experience of the world.